Intention-- that's my word for this year. I will live, create, and act with intention every day.
My overall creative goals for 2013 are simple. I want to create for my family, learn new skills, and design one-of-a-kind items to grow my handmade business.
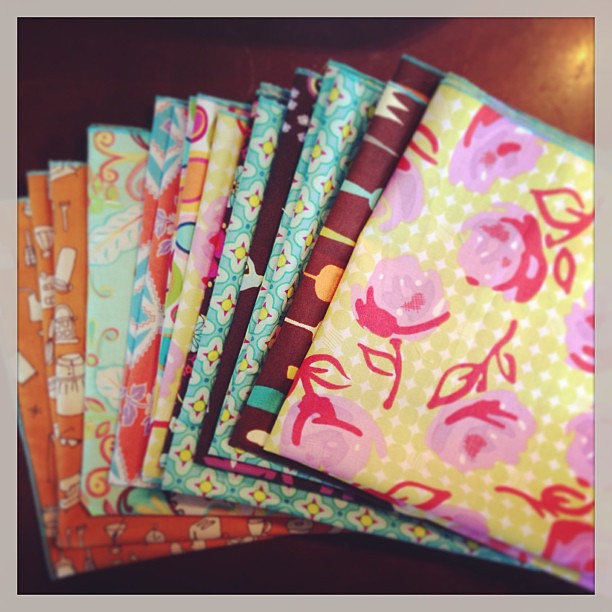
Creating for my family is in the forefront of my thoughts right now. I've had fabric prepped for two simple projects-- cloth napkins and baby bibs-- for months now. Yesterday morning I sketched out my intent for the day.
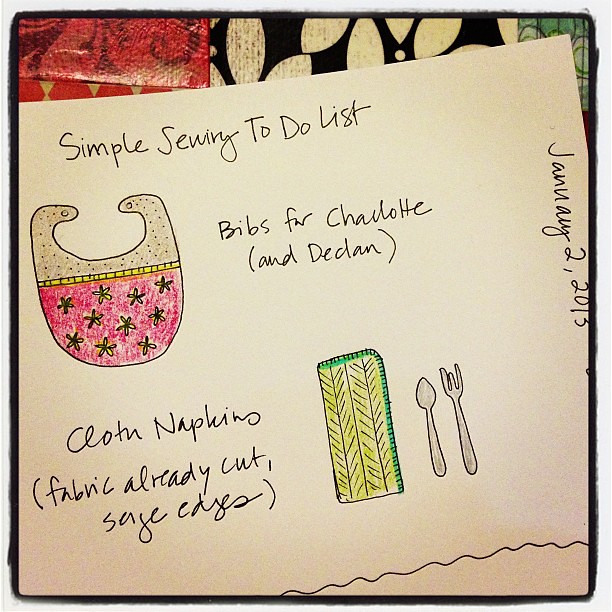
And then I took action.
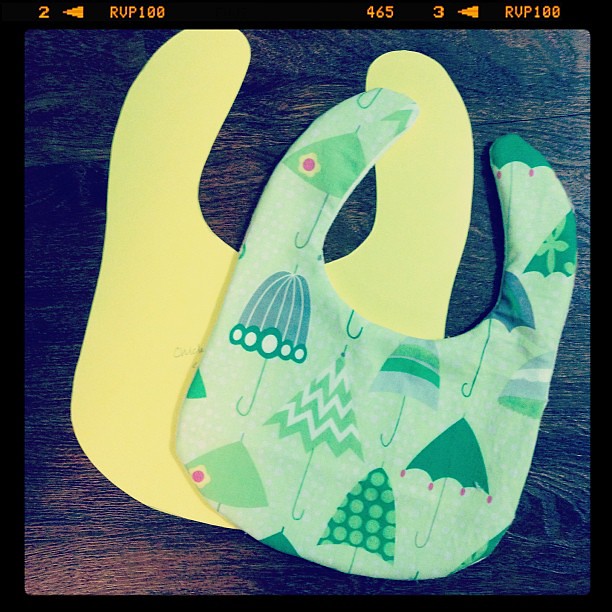
It was a good way to start the year.
Notes:
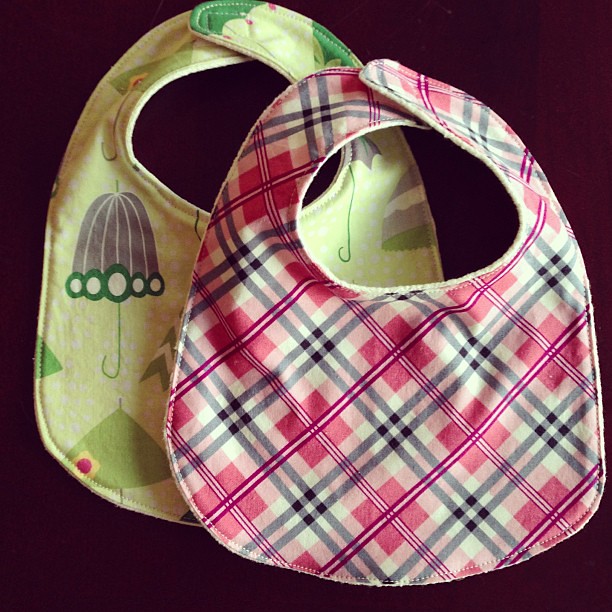
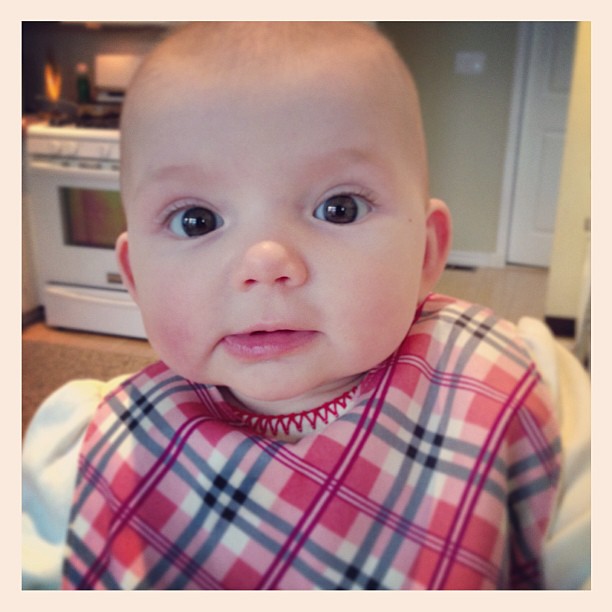
The bib pattern is from Chickpea Sewing Studio. It's a great size for smaller babies. The one thing I do differently is trace the full pattern piece onto rectangles of my two bib fabrics that are right sides facing, then stitch 1/4" inside of that line and cut out the bib shape afterwards. I find it's so much easier than trying to match up two pattern pieces with curves. I used hemp/cotton fleece on the back this time. I used to use inexpensive chenille from Jo Ann Fabrics, but my last batch smelled so strongly of chemicals even after washing that it worried me. Hopefully these will be absorbent enough-- once we go through a test run, I'll make more. Solid foods are coming soon!
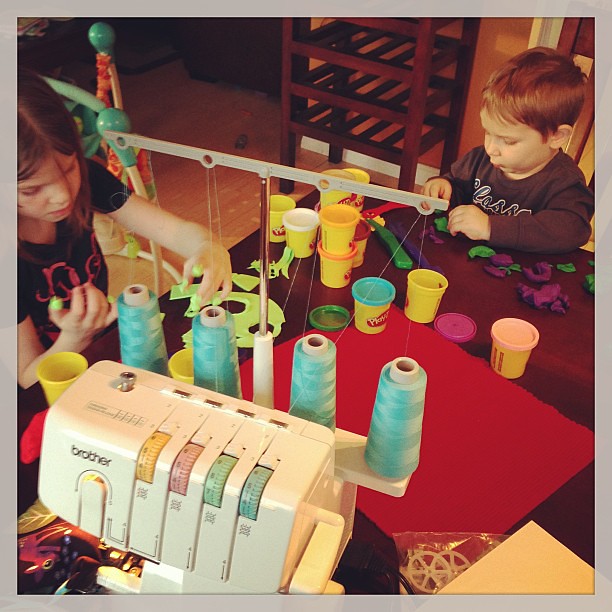
My napkins are just simple squares of quilting cotton, prewashed and bound with a rolled hem on my serger. I'm definitely no serger expert, but I will say that once I got the settings right on my machine (a Brother 1034D) they were quick to finish up. In the past I've used this simple tutorial from Prudent Baby. Right now I'm also taking Amy Alan's Beginner Serging class on Craftsy. If you have a serger and are intimidated by it, take the class! Amy is adorable and such a natural teacher. You'll learn a lot.
Showing posts with label for the kids. Show all posts
Thursday, January 3, 2013
Monday, July 16, 2012
still here, and sewing
So still no baby. I've got a few more days before my official due date, but I'm definitely feeling that pressure to just "get it all over with already" that comes with the end of pregnancy.
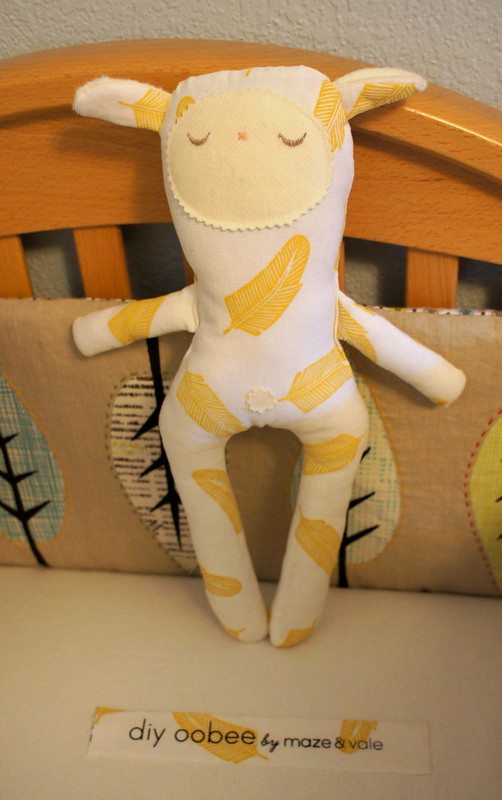
With everything ready to go, I'm trying to spend more time in my sewing room before it's harder for me to get time to myself. This morning I sewed up this sweet oobee from a DIY kit I ordered from maze & vale. (I see she's out of them in the shop right now, but hopefully she's making more!)
I've started cutting into my other maze & vale fabrics for a quilt today too. Originally I had planned to sew up a play mat or teeny baby things with them, but they are just too beautiful to use for something that would be used for a short amount of time. So I'll be making a quilt that will be big enough for my family to love for much longer. Who knows-- if this baby doesn't show soon, I might make a lot of progress!
With everything ready to go, I'm trying to spend more time in my sewing room before it's harder for me to get time to myself. This morning I sewed up this sweet oobee from a DIY kit I ordered from maze & vale. (I see she's out of them in the shop right now, but hopefully she's making more!)
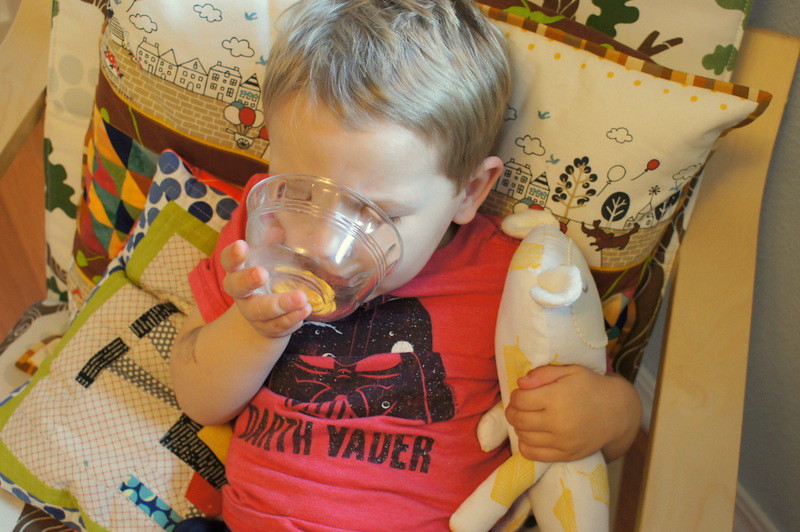
This was meant for the new baby, but Cooper watched me stuff it over breakfast and became quite attached. He even took it with him for his nap this afternoon. So I may just need to order another kit once they're available, or get one of Leslie's custom oobees.
I've started cutting into my other maze & vale fabrics for a quilt today too. Originally I had planned to sew up a play mat or teeny baby things with them, but they are just too beautiful to use for something that would be used for a short amount of time. So I'll be making a quilt that will be big enough for my family to love for much longer. Who knows-- if this baby doesn't show soon, I might make a lot of progress!
Tuesday, February 14, 2012
Valentine's Day Pillows
Happy Valentine's Day!
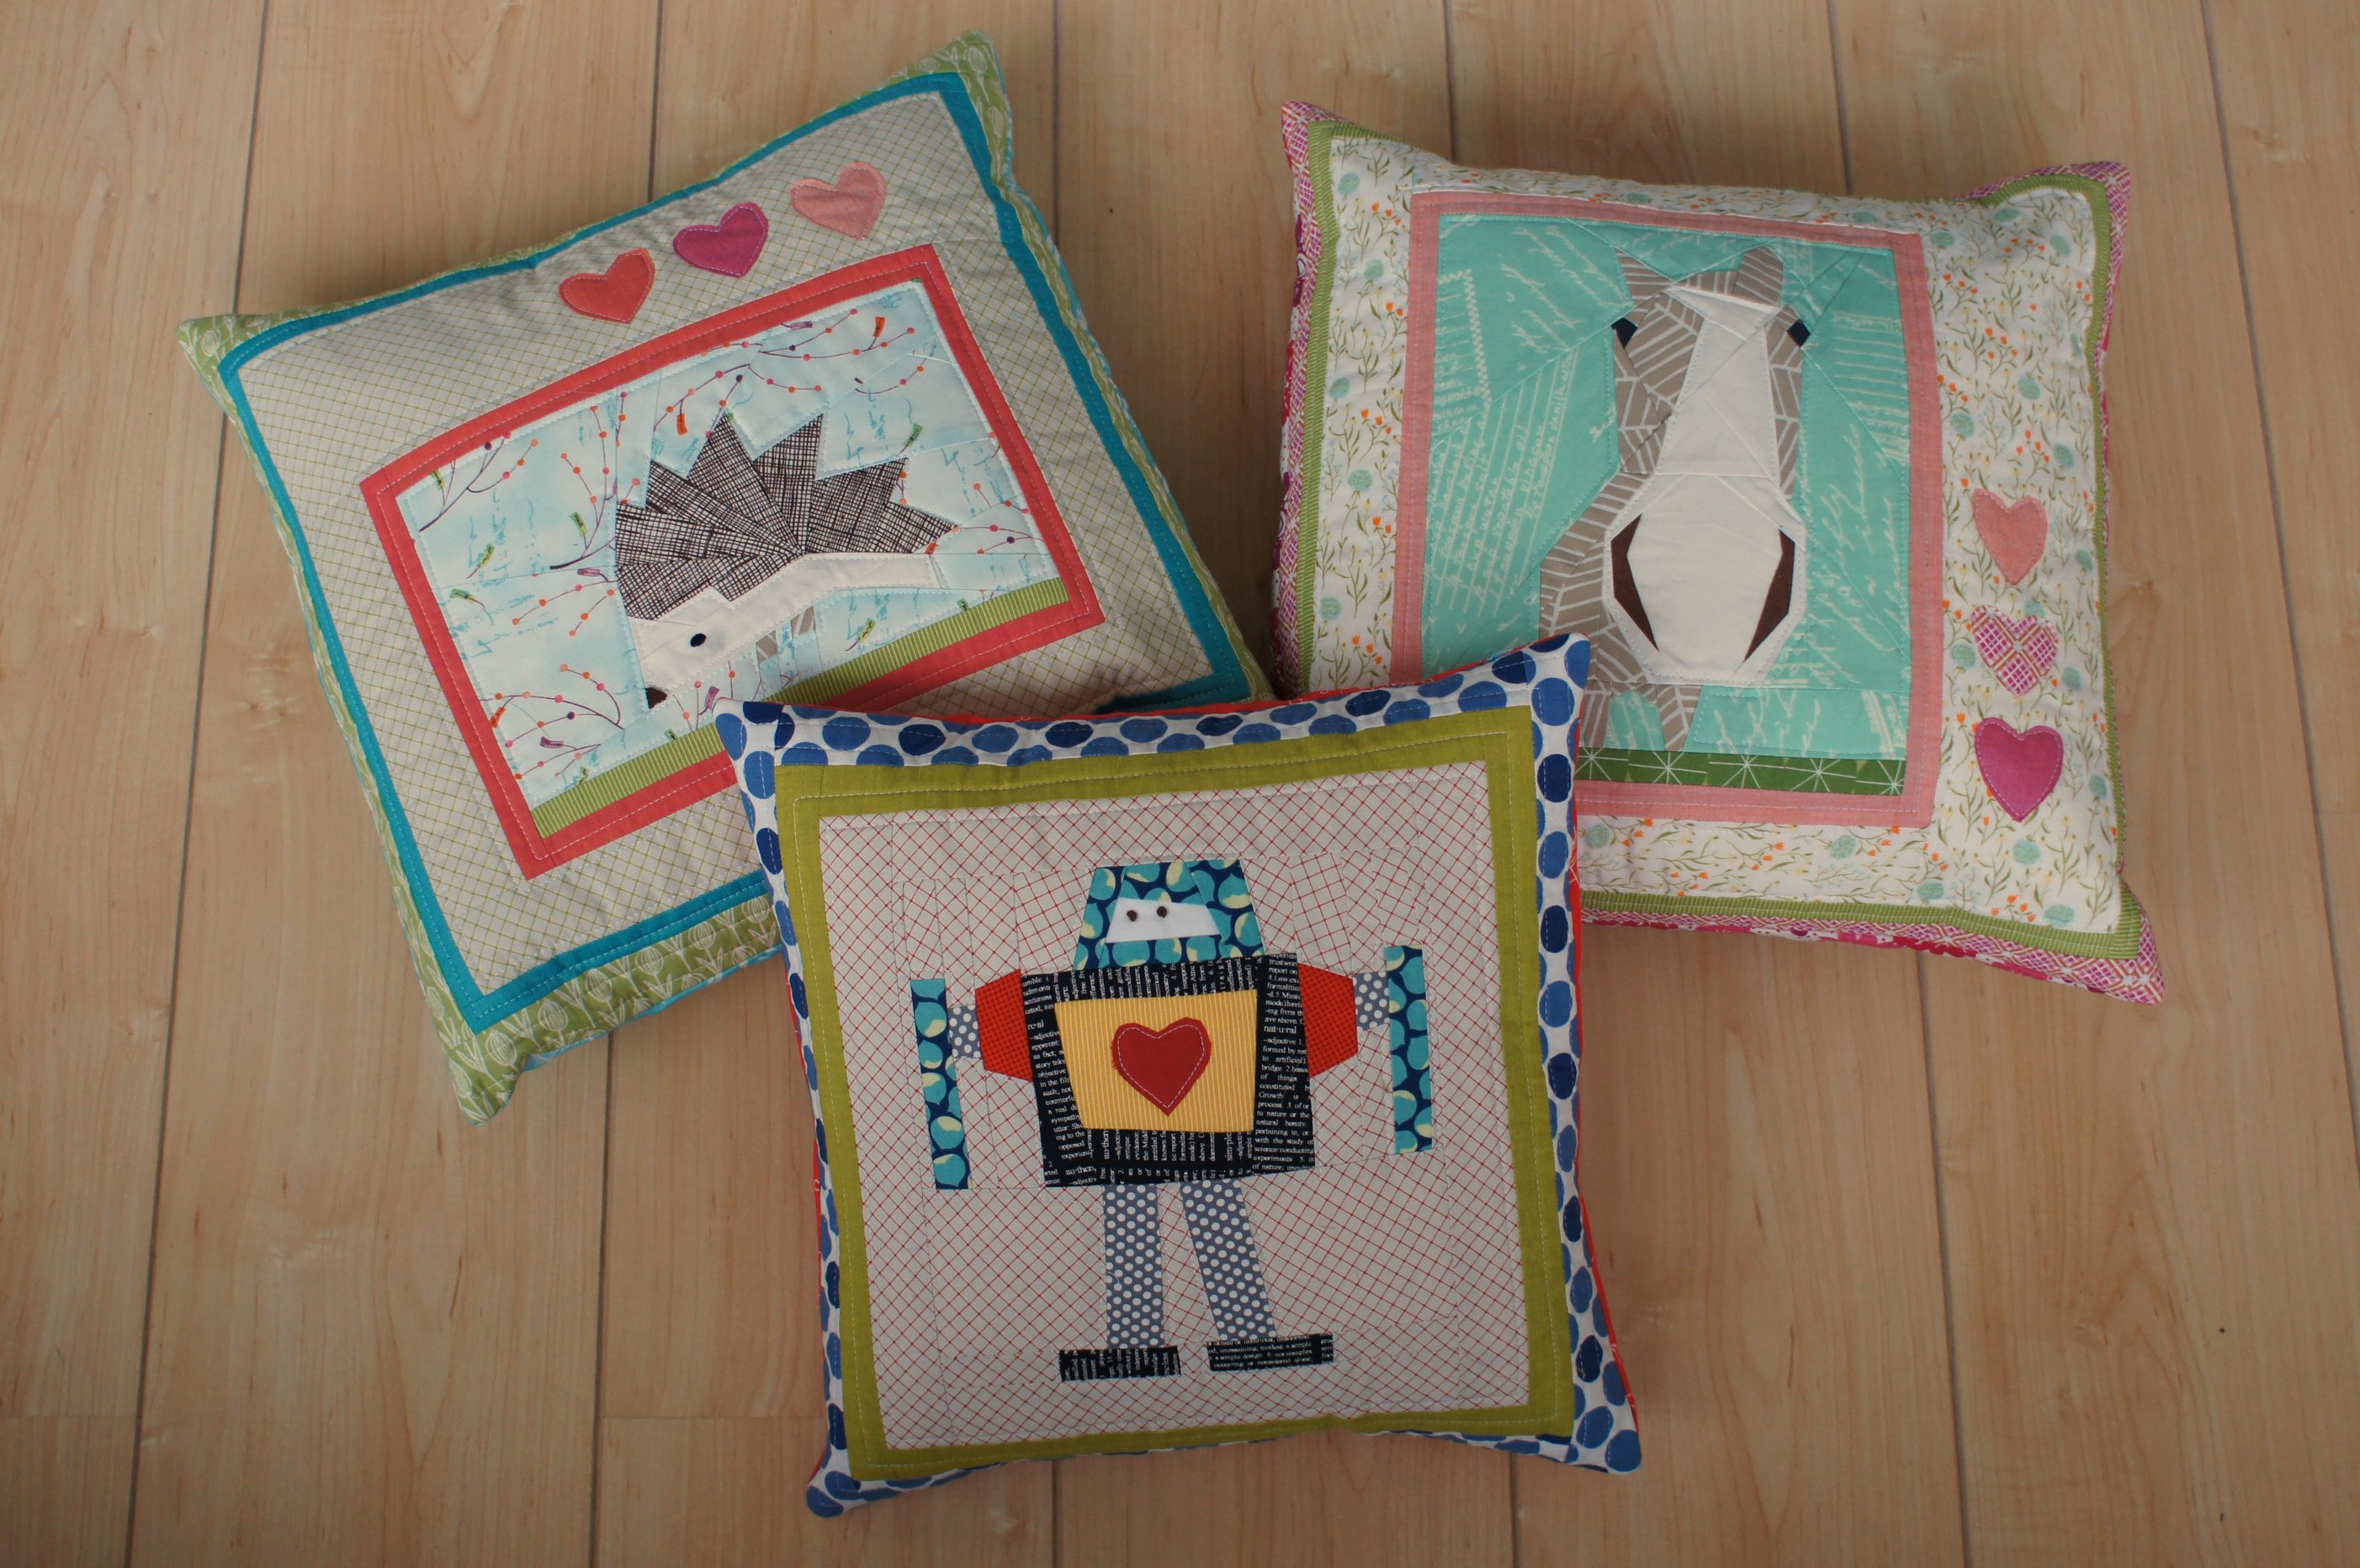
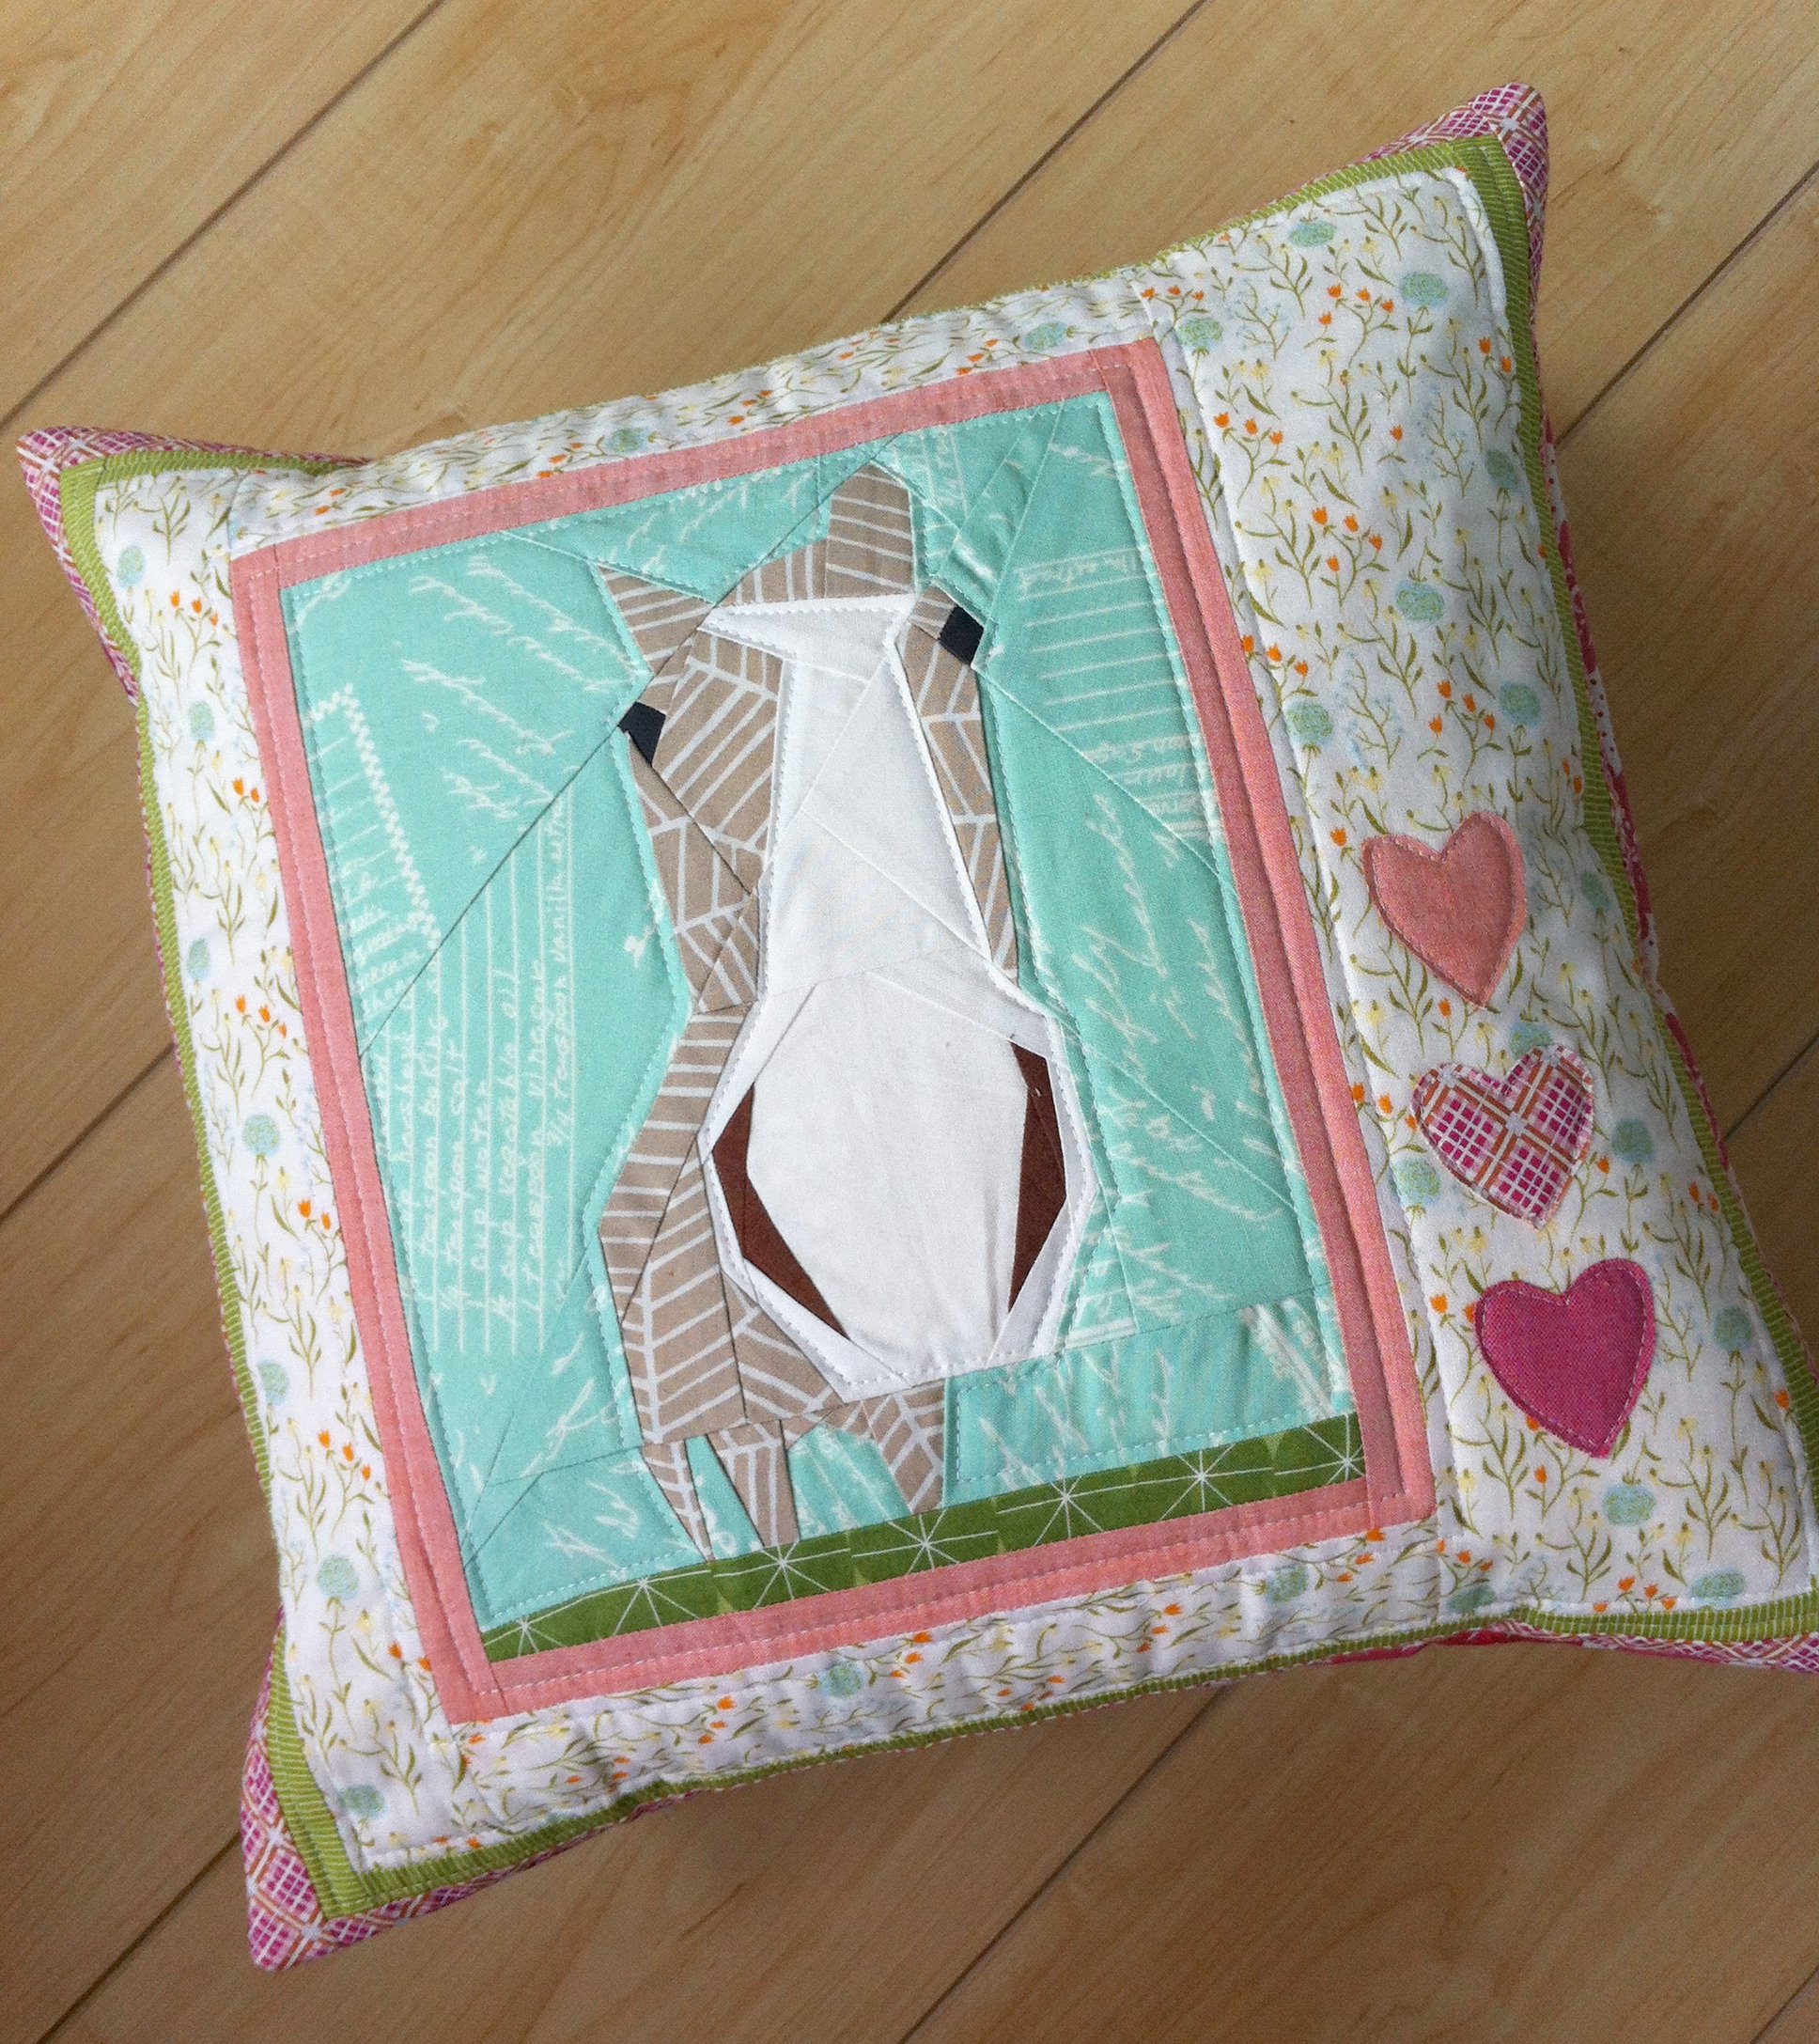
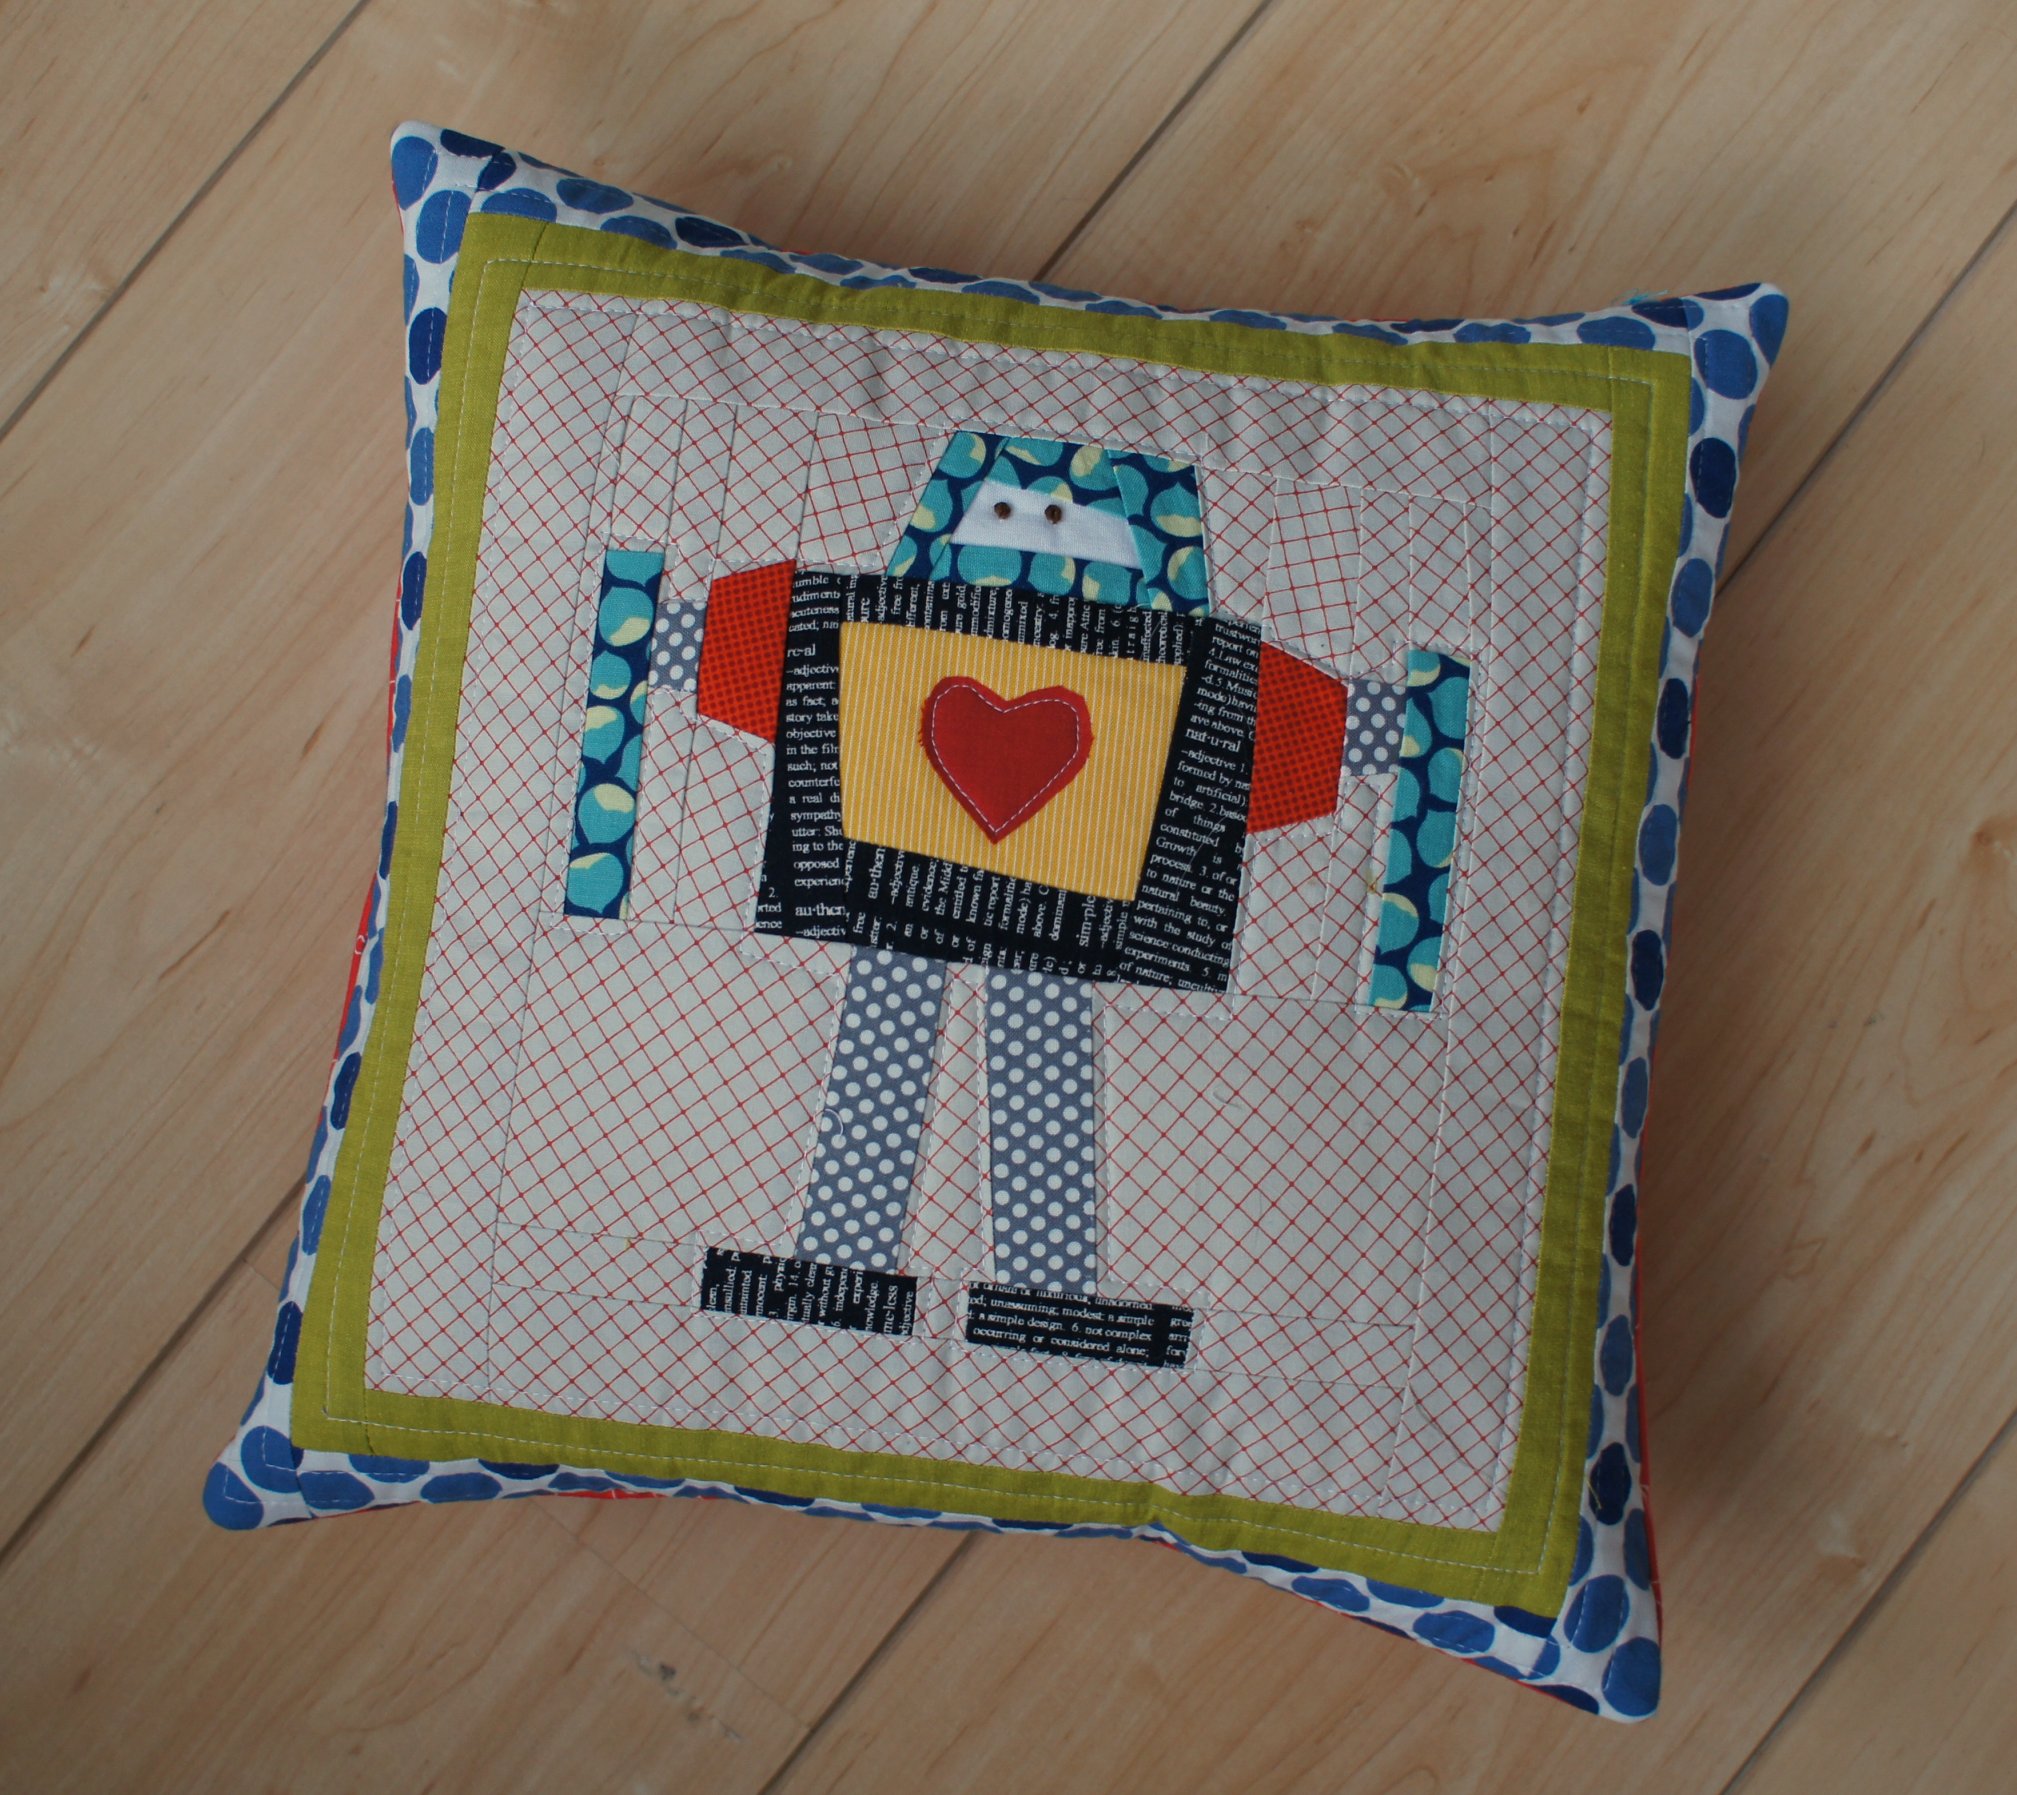
I'm not always the best at making handmade gifts for the kids on holidays. But this year I managed to make up some pillows for each of the kids using paper piecing patterns from Sonja of Artisania Patterns.
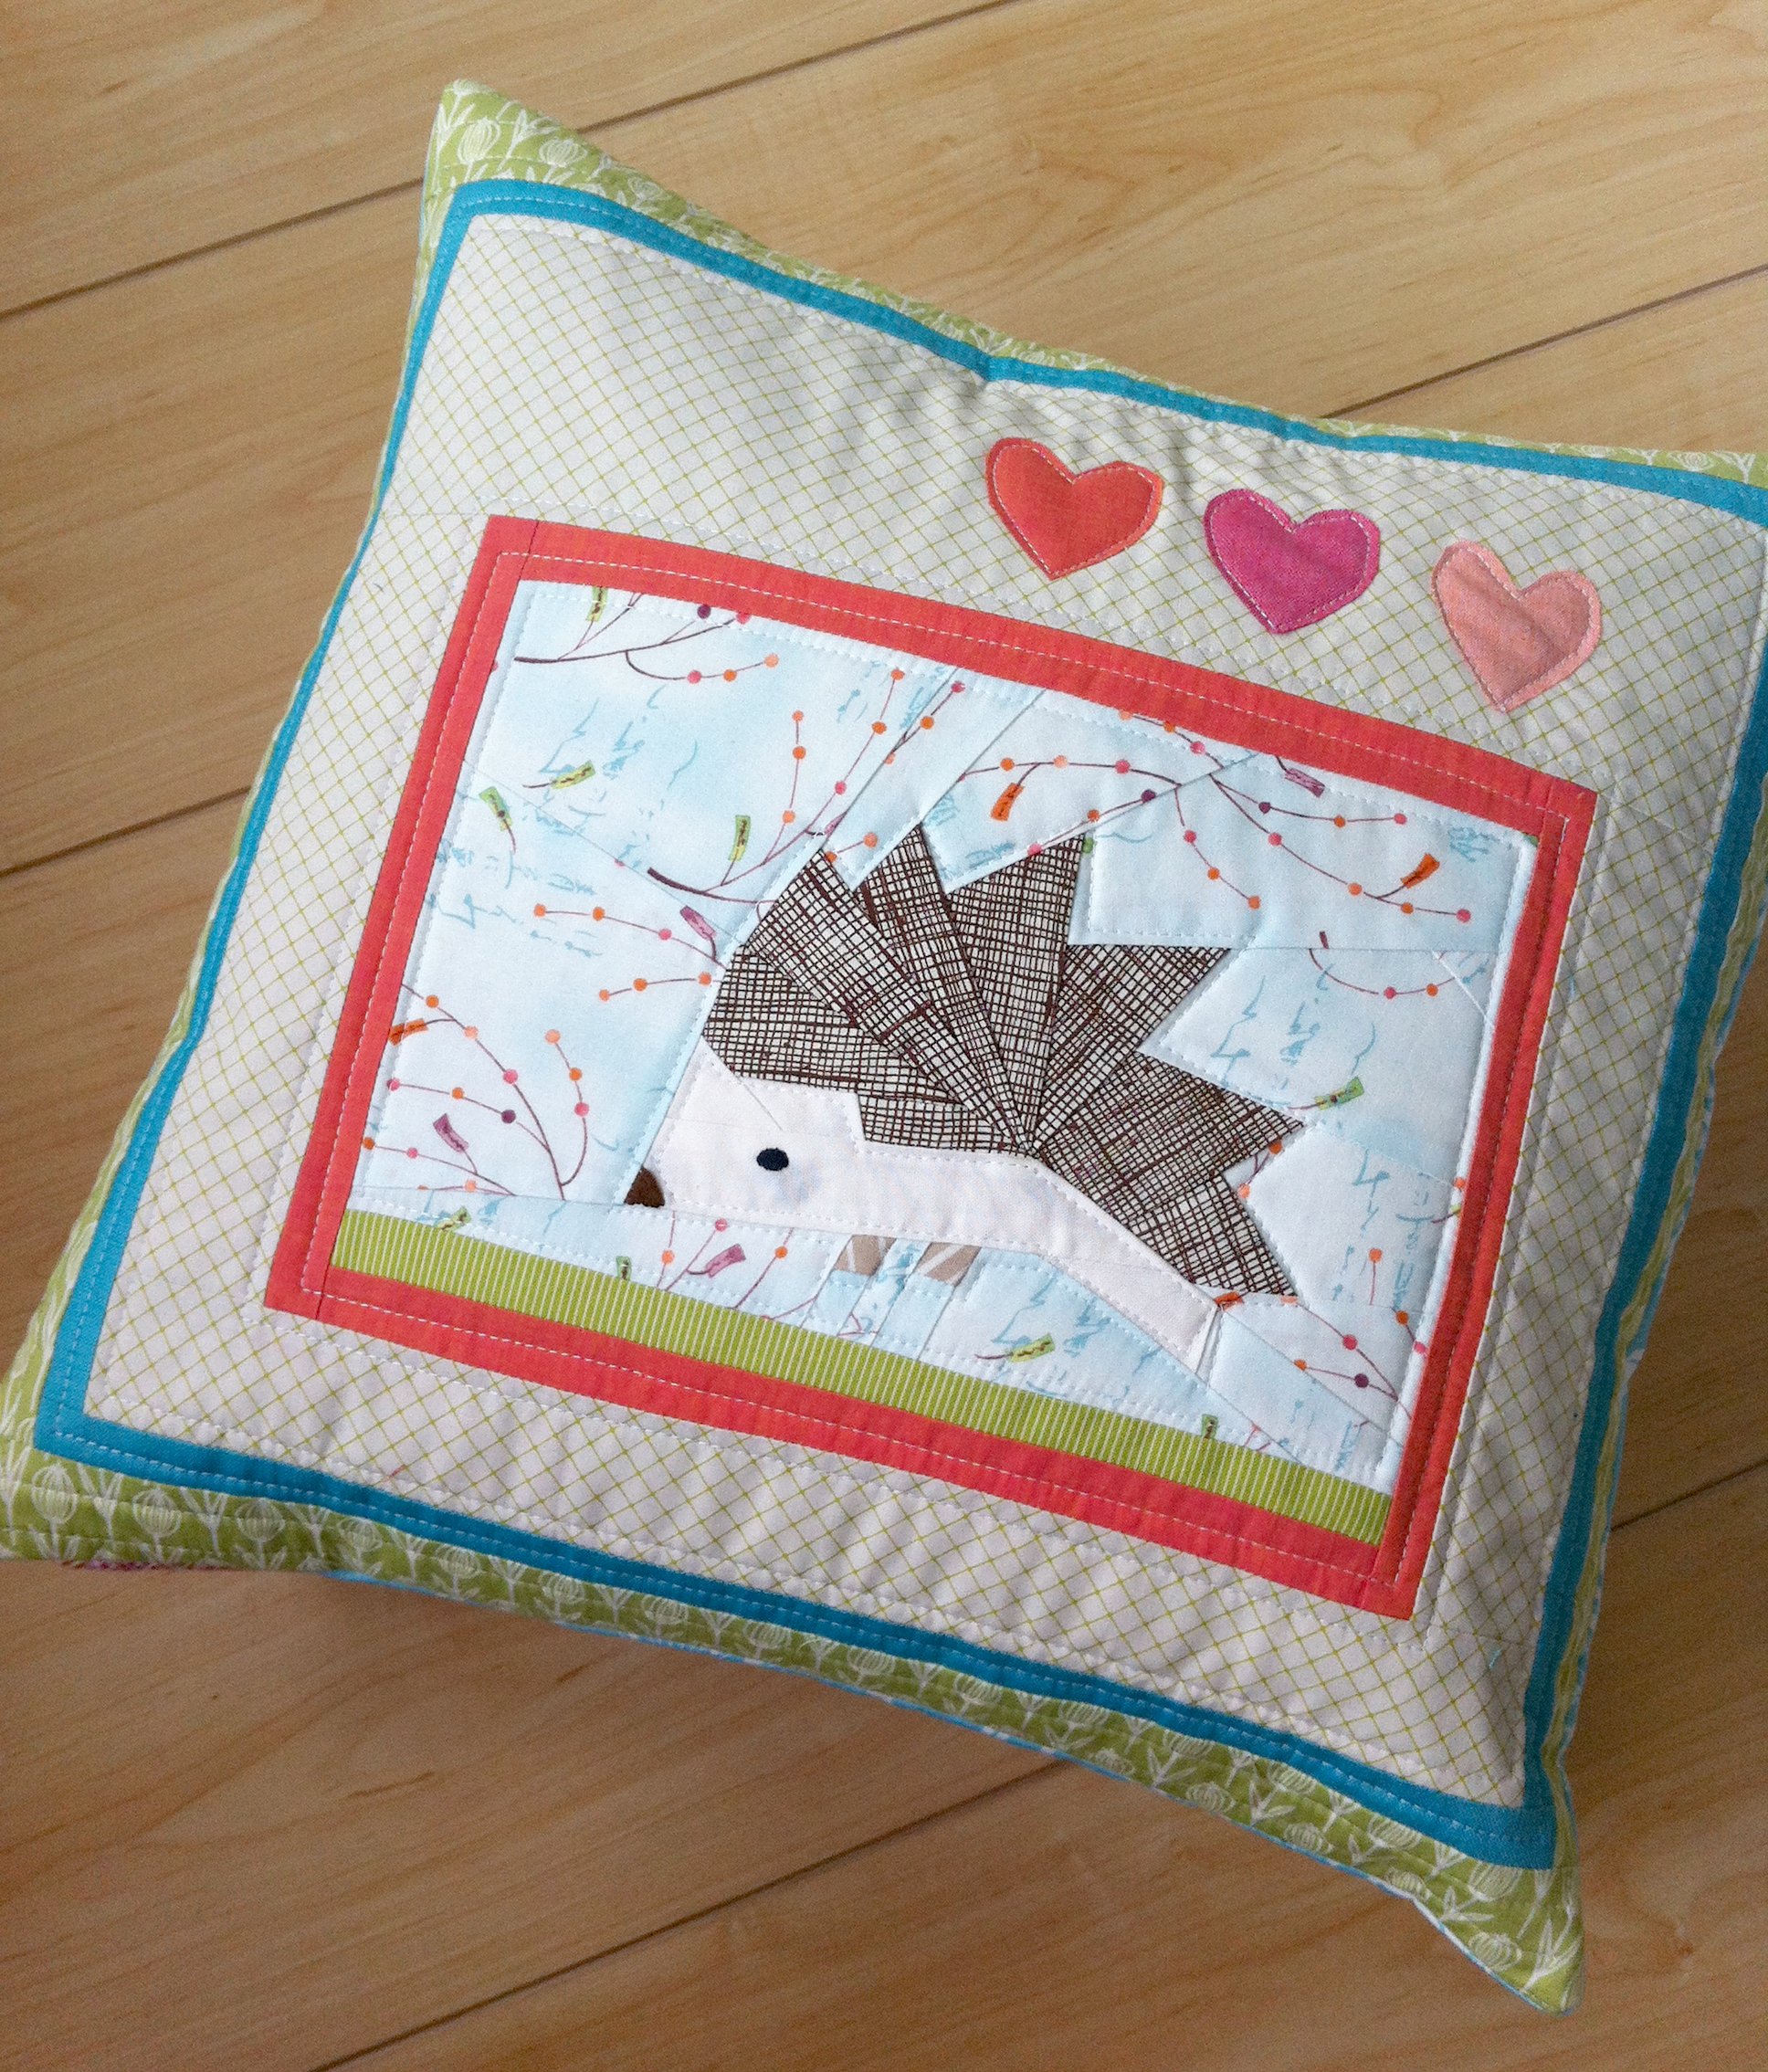
A hedgehog for Avery:
A horse (of course) for Claire:
And a robot for Cooper:
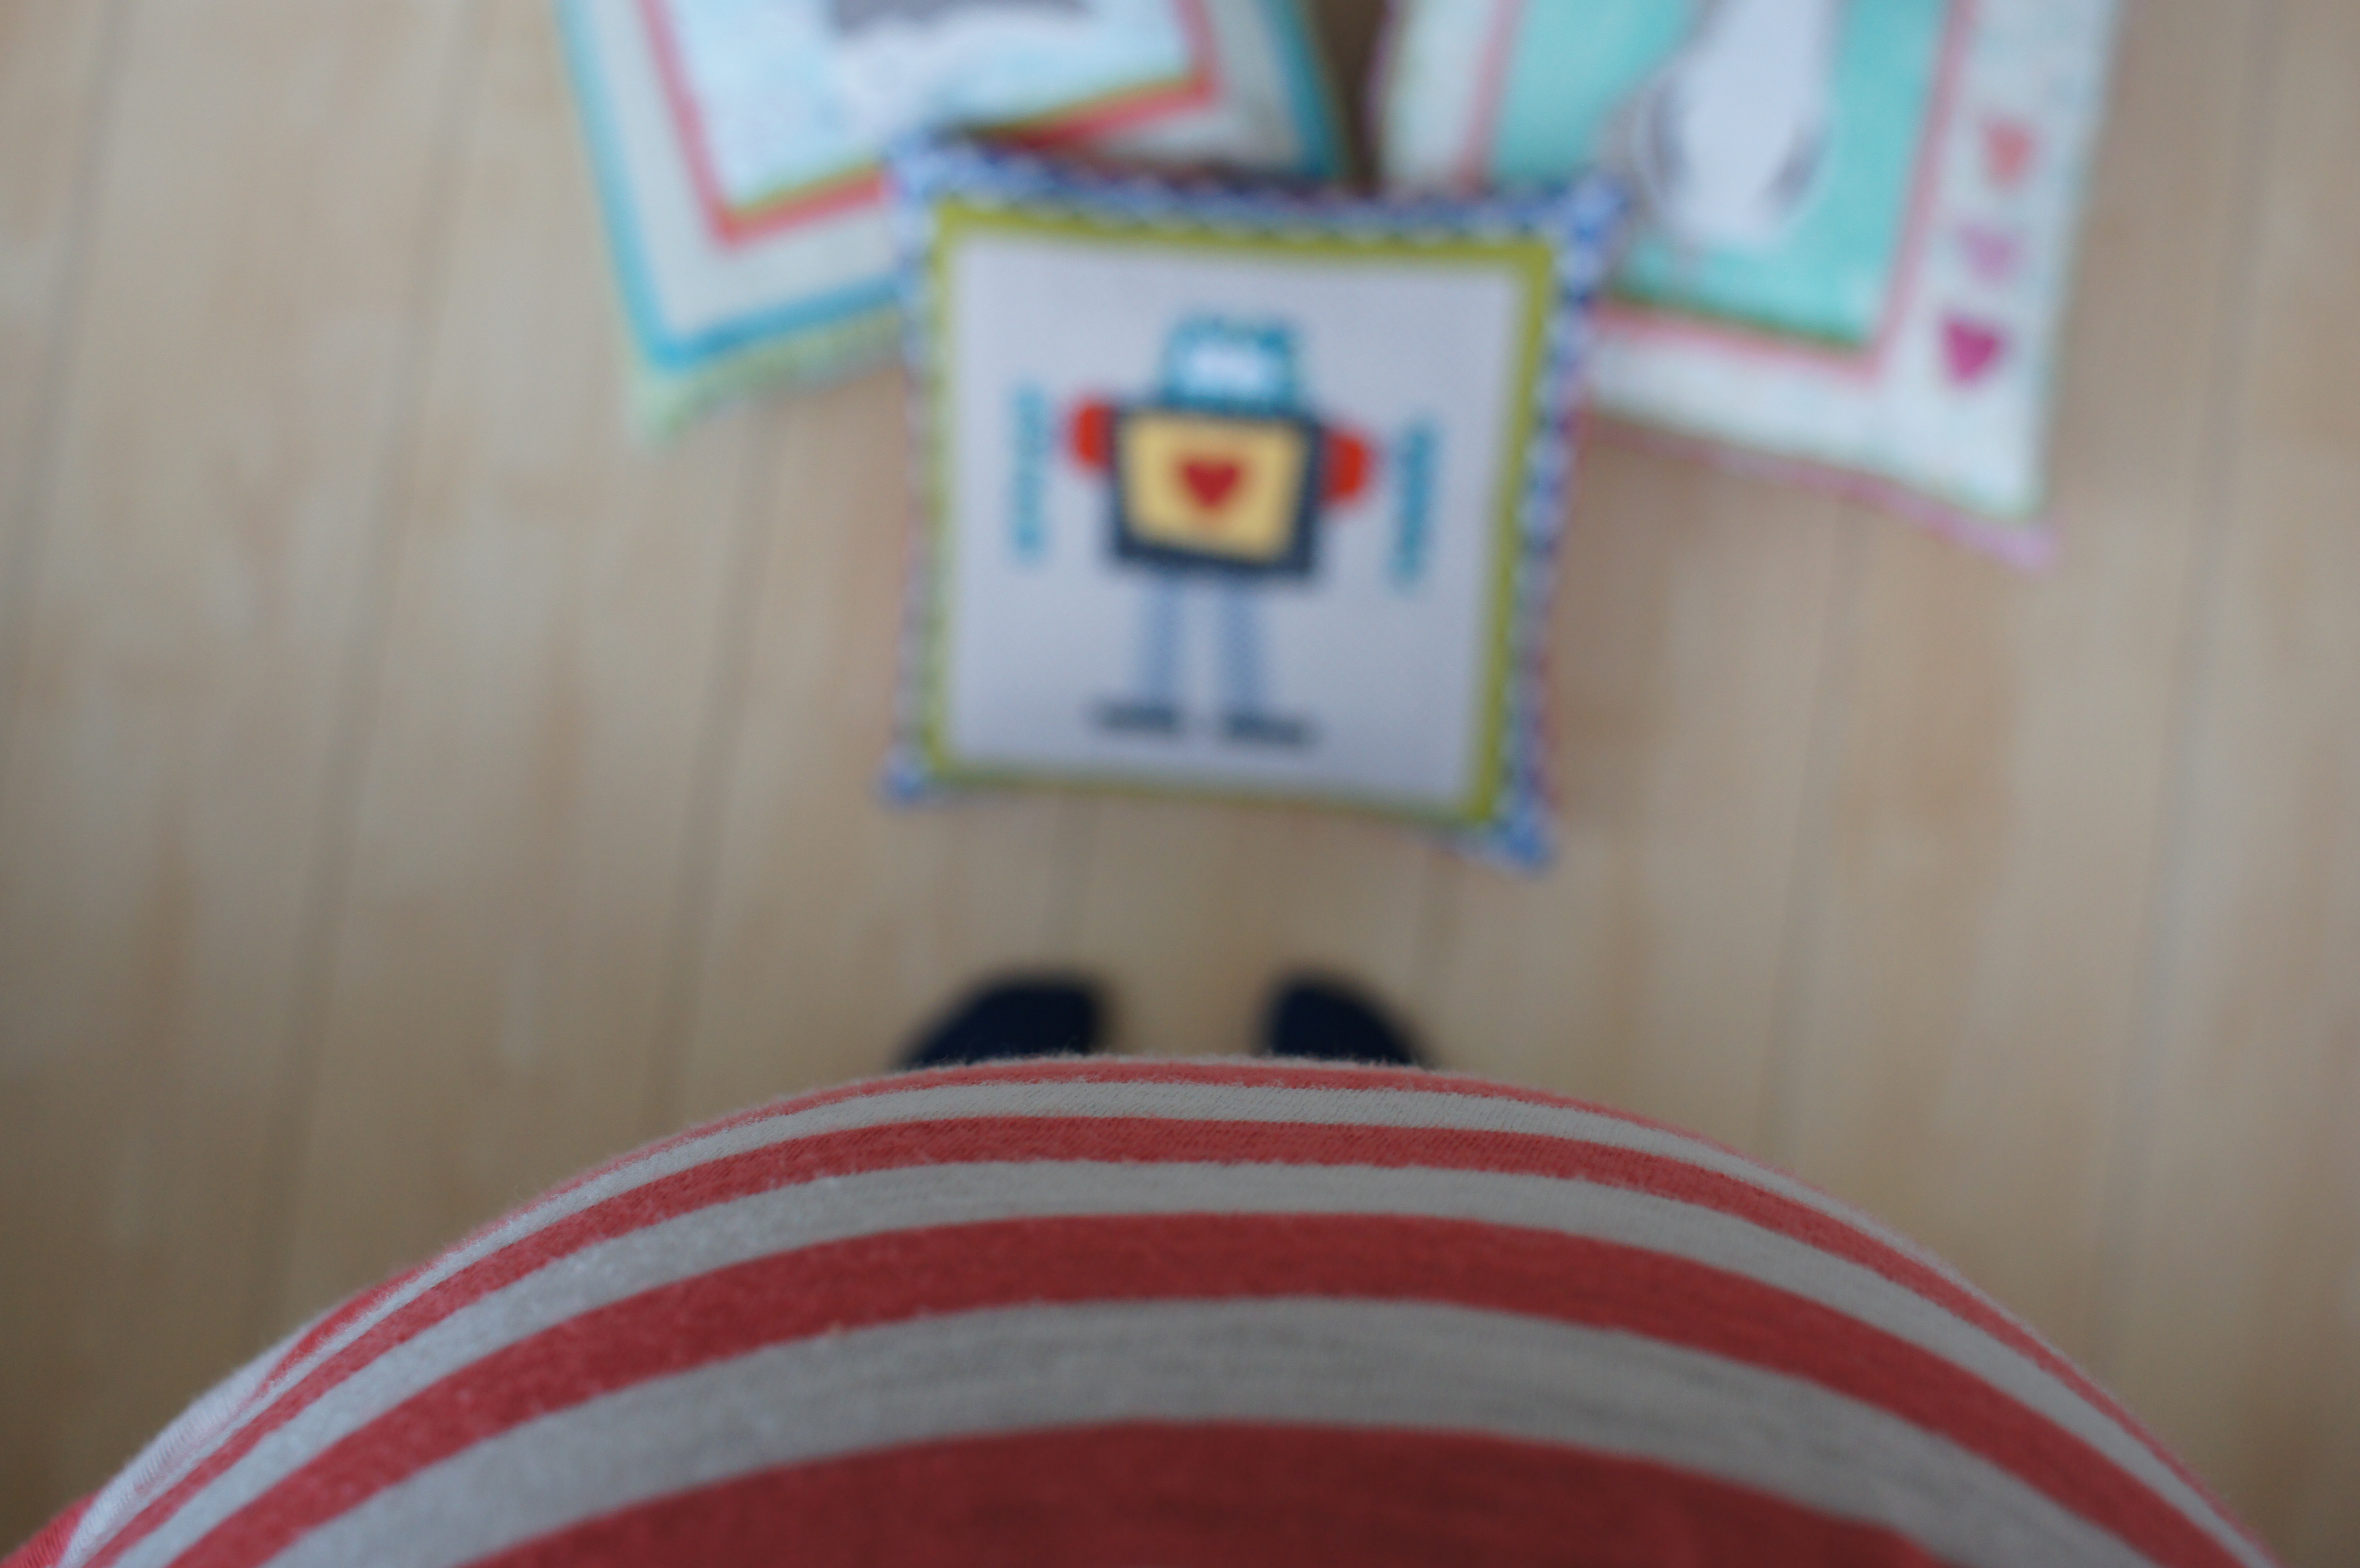
This pregnancy is moving along nicely. I'm 17 weeks along now and feeling great. This belly is already something else.
I've never really been a person who loves Valentine's Day. And I still really don't-- but I do love my family and know I am so lucky to have them. I hope you have a wonderful day with the ones you love too!
Lest you think I'm a meanie wife and forgot all about Rob-- he's anti-pillow, but will be well taken care of with some good beer and red duct tape. He appreciates more useful gifts!
I'm not always the best at making handmade gifts for the kids on holidays. But this year I managed to make up some pillows for each of the kids using paper piecing patterns from Sonja of Artisania Patterns.
A horse (of course) for Claire:
And a robot for Cooper:
This pregnancy is moving along nicely. I'm 17 weeks along now and feeling great. This belly is already something else.
I've never really been a person who loves Valentine's Day. And I still really don't-- but I do love my family and know I am so lucky to have them. I hope you have a wonderful day with the ones you love too!
Lest you think I'm a meanie wife and forgot all about Rob-- he's anti-pillow, but will be well taken care of with some good beer and red duct tape. He appreciates more useful gifts!
Thursday, July 28, 2011
a school bag for Avery
School starts here in 19 days. Can you believe it? It's the price we pay for starting vacation in mid-May I guess. I'm on top of things for once though and managed to make Avery's requested school bag with plenty of time to spare!
Avery originally wanted a tote with a zipper closure on top, but I convinced her to try a messenger style instead. Since we only had a half yard of the Appleville fabric she wanted to use, I put it front and center on the flap. We then decided on a dirt-hiding grey linen for the body of the bag. The flap is lined with Sevenberry school supplies fabric, the lining is a green seersucker, and the straps and outside pocket are Timeless Treasures organic crosshatch. Yummy!
I used this messenger bag tutorial by mmmcrafts but enlarged the length by 5 inches and the width by 2 to allow for more room. I also increased the seam allowances to 1/2 inch because of the fraying nature of the linen. One thing I wish I could change is the floppy nature of the bag. I interfaced it with fusible fleece, but looking back, I should have also added additional interfacing to stiffen things up a bit. I think I'll tack a fabric-covered piece of plastic into the bottom to add structure and experiment with a different interfacing in the future. The pattern itself is very easy to follow, and the bag came together in a single naptime.
Avery loves it too, although you'd never know it from her serious pre-teen expression.
Avery originally wanted a tote with a zipper closure on top, but I convinced her to try a messenger style instead. Since we only had a half yard of the Appleville fabric she wanted to use, I put it front and center on the flap. We then decided on a dirt-hiding grey linen for the body of the bag. The flap is lined with Sevenberry school supplies fabric, the lining is a green seersucker, and the straps and outside pocket are Timeless Treasures organic crosshatch. Yummy!
I used this messenger bag tutorial by mmmcrafts but enlarged the length by 5 inches and the width by 2 to allow for more room. I also increased the seam allowances to 1/2 inch because of the fraying nature of the linen. One thing I wish I could change is the floppy nature of the bag. I interfaced it with fusible fleece, but looking back, I should have also added additional interfacing to stiffen things up a bit. I think I'll tack a fabric-covered piece of plastic into the bottom to add structure and experiment with a different interfacing in the future. The pattern itself is very easy to follow, and the bag came together in a single naptime.
Avery loves it too, although you'd never know it from her serious pre-teen expression.
Thursday, July 21, 2011
collaborative sewing with kids
Claire started with the turquoise and pink plaid (because she likes fancy things like private school, and private school uniforms are plaid, you know) and pointed to my rainbow zip pouch, asking if I could make her's just the same but with a strap. I secretly hoped that the plaid would be part of the strip and that I could convince her to use some denim or linen for the main part of the bag. But no! She wanted it to be the main fabric, and her selection of accent solids and prints quickly followed. I found a piece of webbing for the strap, she picked out a hot pink zipper, and a half hour later we had a finished bag.
I won't lie-- this bag is not at all my style. The super bright colors and crazy mix of prints sort of make my eyes hurt. But Claire LOVES it. I love that she designed it herself and feels so proud about her choices. That's something I really have to remember about sewing for kids-- they have different ideas about what is fun and fresh. Those ideas are likely to be different than mine. And that's a good thing.
Next up is a school bag for Avery. She wants something big in place of a backpack and has picked out this Appleville print as her main fabric. Looks like I've got lots of bright sewing ahead!
Thursday, April 14, 2011
bunny stuffing
I truly hope you didn't click on over here hoping for an Easter recipe!
If you couldn't tell, I'm a bit pattern crazy recently. They are helping me learn to be patient and follow directions. I haven't felt up to working on my ongoing quilts quite yet, so I've been doing things like pouches and bags. I really wanted to sew something up for each of the kids for Easter this year and I decided to give a first try to softies. I settled on the fantastic Jack Rabbit and Rufus the Dog patterns from Hop, Skip, Jump.
As you can see, I'm using more of my fab DS Quilts fabric. Claire went nuts for the blue floral that is in the ears, so her bunny will get a skirt out of it (and I might even make Claire one to match!). I woke up an hour early and used the time to cut out all of the pieces. They sewed up so quickly during naptime this morning that I thought, "Hey! I'm going to get this done in no time!" Then I started stuffing. And stuffing. And swearing a little bit. And then I thought, "I don't think the kids are going to get bunnies this year after all." I could not get the fill into those tiny little stuffing holes in the arms and legs.
So I figured out a solution that is probably obvious to those of you who have made softies before. There are probably even better tricks out there (if so, please share them with me!). This is what I did:
Then I grabbed a wad of stuffing (I'm using a bamboo blend that I picked up on sale at Jo-Ann's the other day) and stuffed it down the tube with the wooden stick. Then I did it over and over again.
It saved my sanity, and now the kids will all get bunnies. Hooray!
If you couldn't tell, I'm a bit pattern crazy recently. They are helping me learn to be patient and follow directions. I haven't felt up to working on my ongoing quilts quite yet, so I've been doing things like pouches and bags. I really wanted to sew something up for each of the kids for Easter this year and I decided to give a first try to softies. I settled on the fantastic Jack Rabbit and Rufus the Dog patterns from Hop, Skip, Jump.
As you can see, I'm using more of my fab DS Quilts fabric. Claire went nuts for the blue floral that is in the ears, so her bunny will get a skirt out of it (and I might even make Claire one to match!). I woke up an hour early and used the time to cut out all of the pieces. They sewed up so quickly during naptime this morning that I thought, "Hey! I'm going to get this done in no time!" Then I started stuffing. And stuffing. And swearing a little bit. And then I thought, "I don't think the kids are going to get bunnies this year after all." I could not get the fill into those tiny little stuffing holes in the arms and legs.
So I figured out a solution that is probably obvious to those of you who have made softies before. There are probably even better tricks out there (if so, please share them with me!). This is what I did:
I took the Dritz 1/2" turning tube thing that I had also used to turn the ears and limbs all right side out. I stuck it in the hole and pushed it down so it was all the way at the end of the leg/arm.
Then I grabbed a wad of stuffing (I'm using a bamboo blend that I picked up on sale at Jo-Ann's the other day) and stuffed it down the tube with the wooden stick. Then I did it over and over again.
It saved my sanity, and now the kids will all get bunnies. Hooray!
And now it's time for the winner of the 101 Patchwork Projects & Quilts magazine. The random number generator has spoken, and the winner is Emily off MLE Knits! Congrats!
Subscribe to:
Posts (Atom)