
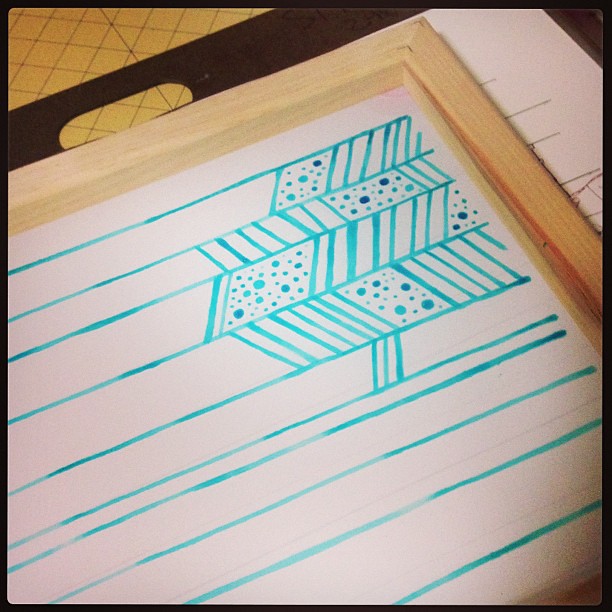
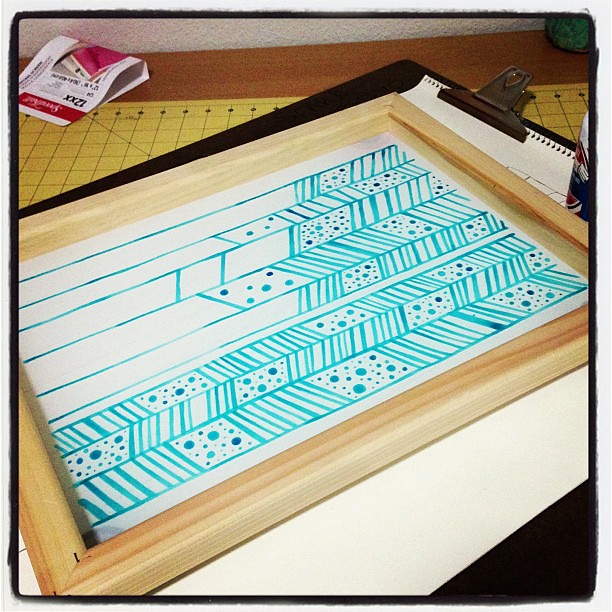
The first step is to draw the design on the mesh with a paintbrush and the blue drawing fluid.
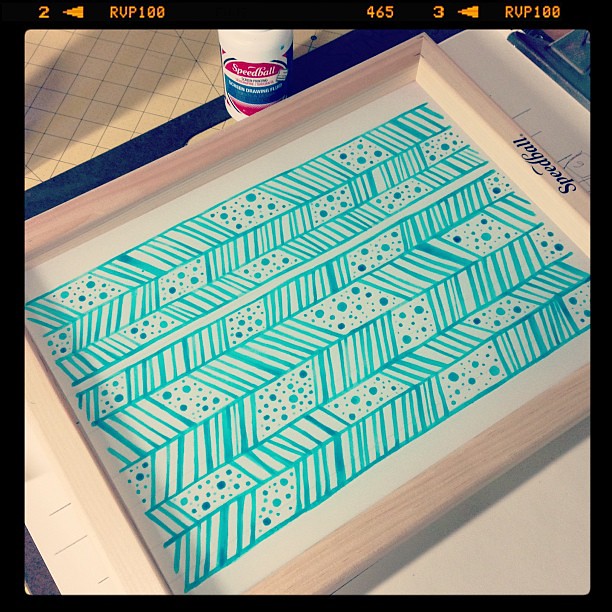
This is where things went wrong.
The screen filler started to pool up on one side and dripped through the screen, dissolving the drawing fluid. Some of the circles started to bleed as well.

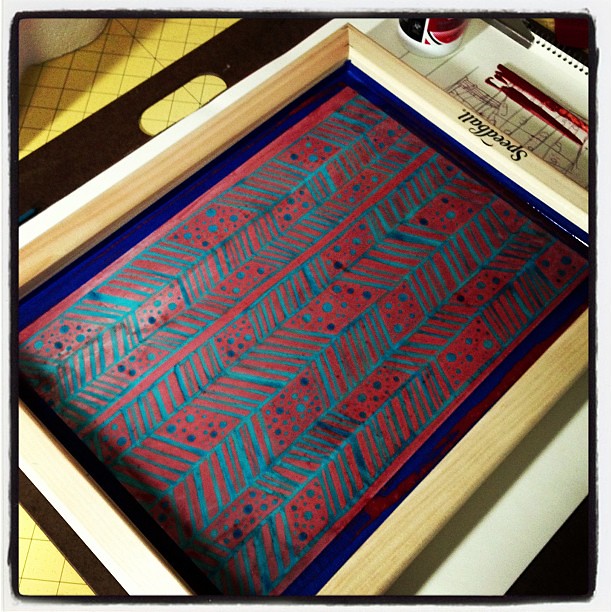
decided to wash out the screen anyway.

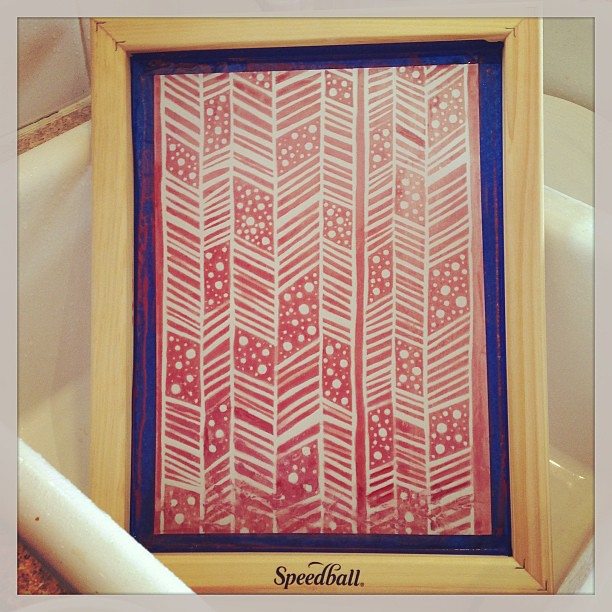
And do a test print.

I really love how it turned out! I'm going to go back and paint screen filler around the bad dots, and see if that helps. I'm disappointed that some areas can't be fixed (lines where the screen filler bled in and filled the mesh), but I'm trying to remember that this is a learning experience.
Unfortunately, this means I need to go back to the drawing board for the Handprinted Fabric Swap. I think I'm going to go pick up a light and some transparencies and give the photo emulsion a try! Now that I've tackled my first screen, I'm not that scared.
What I learned--
I need to have more patience with drying time. I tried to rush the drawing fluid by hitting it with a blast from the hair dryer. I think that actually reversed the drying process and made it tacky.
I need to leave a bit more space around my design on the screen. There really was very little area for the drawing fluid to go at the beginning before I spread it out, and I think that's why it pooled.
15 comments:
Wow it looks FAB!! That green ink is my fav green and your design is awesome!!! I wish I was in the same group!!
This is so fun! I love your design.
I love it, a great design and that is the most perfect green.
that design is fab! maybe I need one of these.
Fabulous! Love to see more!
Esther
ipatchandquilt
herringbone is my fav design!
I've needed to do this for like forever, thanks for the info!
Wow! this is intriguing!! Very pretty blue/red one Julierose
without wanting to sound condescending i think you did an amazing first job! I love your design and I think you'll rectify it pretty easily x
looks wonderful to me.
Very cool - even if it didn't turn out exactly as you planned. And thanks for sharing what you've learned. This is a project that I'd like to try sometime and your insight is valuable!
I love your design! I joined in the Handprinted swap as well. It definitely took more trial and error than I had originally accounted for, but in the end I was so glad that I participated.
Wow, that is very cool! No one would ever know there were imperfections. Great design, that's for sure!
Very cool post. I just recently started following your blog, but I look forward to contributing more in the future.
Book publishers
Nice blog. Thank you for sharinG :) Best screen printing in Calgary, Alberta
I am new here and I am glad to learn from you guys.. Waiting for more to come! Thanks.. ����
Post a Comment