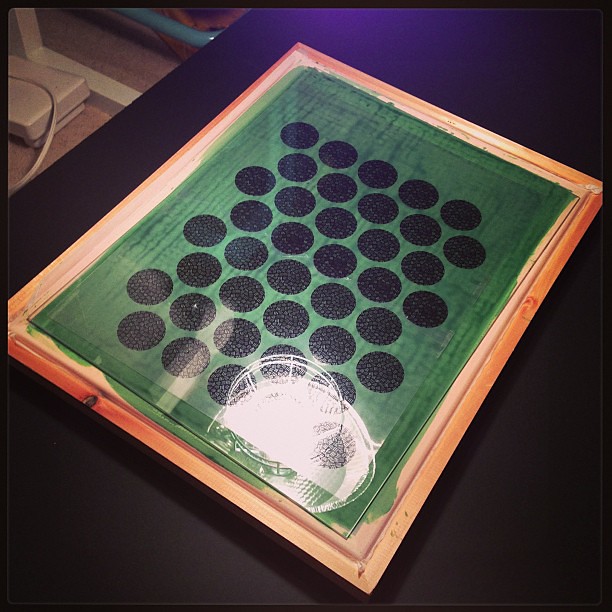
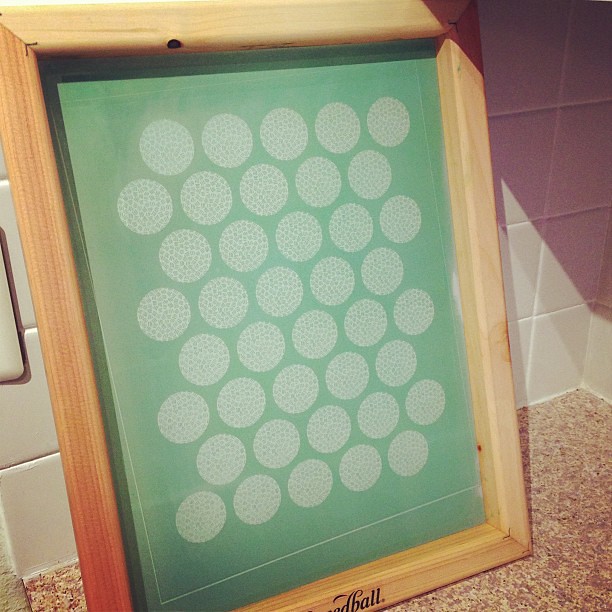
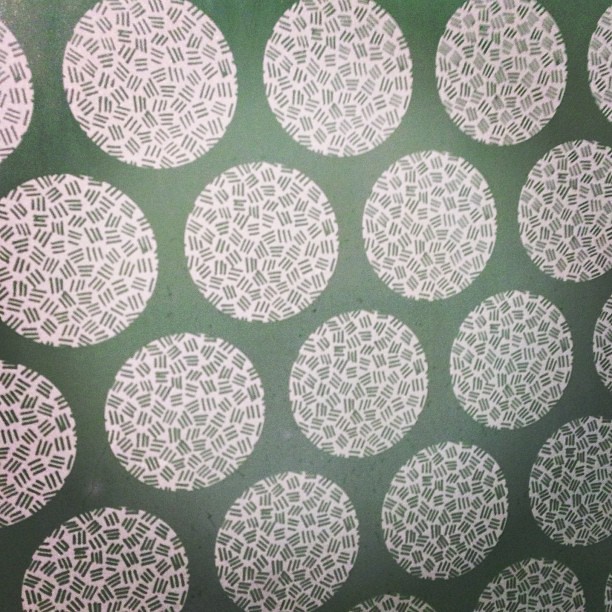
I worked up a quick design based off the block print I did at QuiltCon. I manipulated it in Photoshop and created a repeat.
There are tons of tutorials and videos and articles on the internet about exposing screens. I like this one from Lil Blue Boo (is there anything she CAN'T do?), but she used sunlight. It's not an option here in Alaskan winter. So I followed other recommendations from a lot of different sources to try to figure out an exposure solution.
The first two tries did not go well. The first time, I tried to expose the screen using a 150 watt bulb.
It did NOTHING. An hour and 15 minutes of time and all I had was a blank screen at the end! The second time, I tried Rob's old 250 watt halogen shop light. It didn't look like it did much either after the 30 minutes of burn time. Once I started washing out the screens to try again though, I did see the image! It was just washing away since the screens were underexposed. So I knew something was going on-- my light just wasn't strong enough.
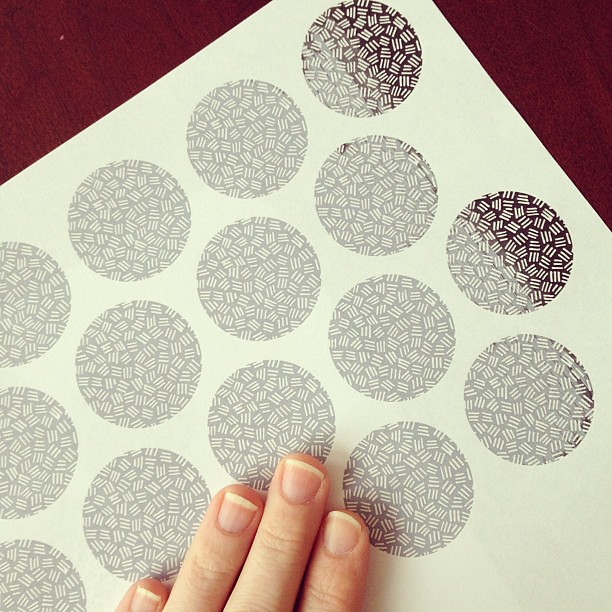
In researching, I also learned that I had probably put too much emulsion on my screens the first time-- look up at that first exposure picture. See the streaks? Plus I had used a piece of cardboard to spread it. I paid careful attention to do a very thin layer the second time, using the squeegee in the kit, when I coated my screens. They dried much more evenly.
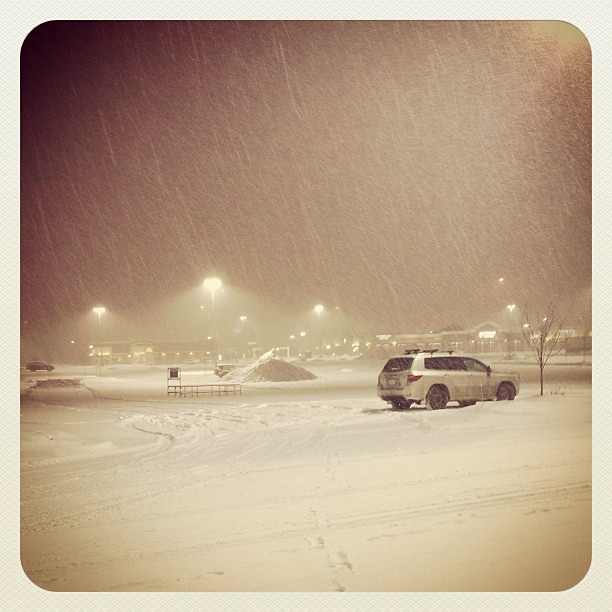
I should mention that throughout this entire process, I was posting pics on Instagram and receiving invaluable advice and encouragement from friends. It made my failures much less frustrating. One bit of advice I got was to try a 500 watt halogen shop light. Early this morning I braved our snowstorm and trekked to Lowe's to pick one up.
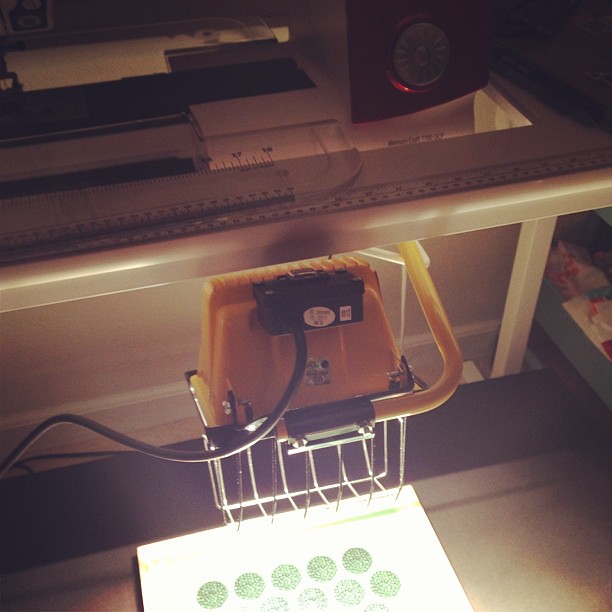
I busted out the UV glass, rigged it up in my sewing room and took a deep breath.
My exposure time was only 13 minutes with this stronger light. Success!
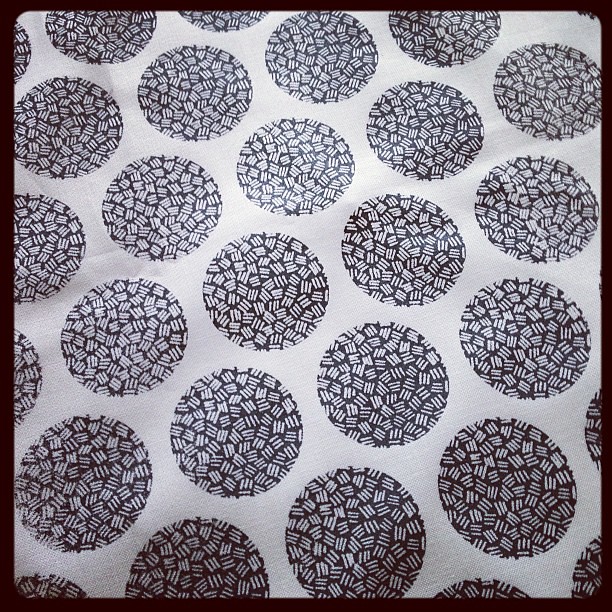
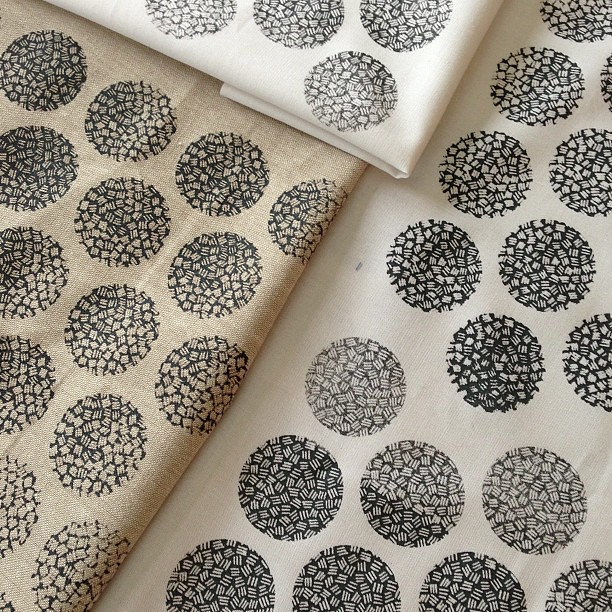
The rest of my morning has been spent trying to figure out the best methods for printing. I'm having promising, but mixed, results. More advice from Instagram led me to put more padding underneath my fabric, and I just might have to head out in the snow again to find a wider squeegee. Mine is 9" wide and I've got a 12" wide screen, so I have to do overlapping passes.
Learning this process has been so much fun! I've got a long way to go with figuring it all out, but I'm sure I'll get it right eventually. I hope you're having a great start to the week! As always, thanks for stopping by.


great progress Krista!
ReplyDeleteIt looks really cool even not quite perfect. Loving your persistence!
ReplyDeleteYour prints look great! Nice work! :)
ReplyDeleteWow I'm so impressed! I'm inspired to give photo emulsion a go myself - at least I won't have any issues with sunlight down here in Australia!
ReplyDeleteIs that snowstorm photo taken during the day? Amazing to see what it's like where you live. :)
i'm pretty sure you will get it right sooner than eventually! Really love this designs Krista and think your prints are looking fantastic!
ReplyDeleteYour fabric looks amazing - the black circles on the natural are speaking to me!!! You are very brave (and determined!!!) to travel in that snow storm - with fabulous results!!!
ReplyDeletehow cool is that. Normally I like colour, but this time I like the darker ones more. Great pattern!
ReplyDeleteI love the design you are working on. Thanks for showing your process
ReplyDeleteOh that is so cool!! Suddenly I'm inspired to try this. And i LOVE the snowstorm-at-Lowe's photo!
ReplyDeleteThese are so fun to look at. Wish I had that kinda creative bug.
ReplyDeleteThanks a lot for sharing. Will check back later for more of your articles.screen printing
ReplyDeleteoff-white
ReplyDeletehermes
supreme outlet
supreme hoodie
chrome hearts online store
moncler
lebron 16
jordan shoes
off white hoodie
air jordans
replica bags blog hermes fake p7n37t9t20 replica bags aaa quality replica bags online uae replica gucci bag n8p66u2t45 replica bags from china replica bags wholesale find out w7f52l2w41 replica bags online pakistan
ReplyDelete