Finally! It's ready.
First, gather your supplies:
9" square of background fabric
2 1/4" square of center fabric
permanent fabric pen or fine point sharpie
needle
thread to match background fabric
pins
ruler
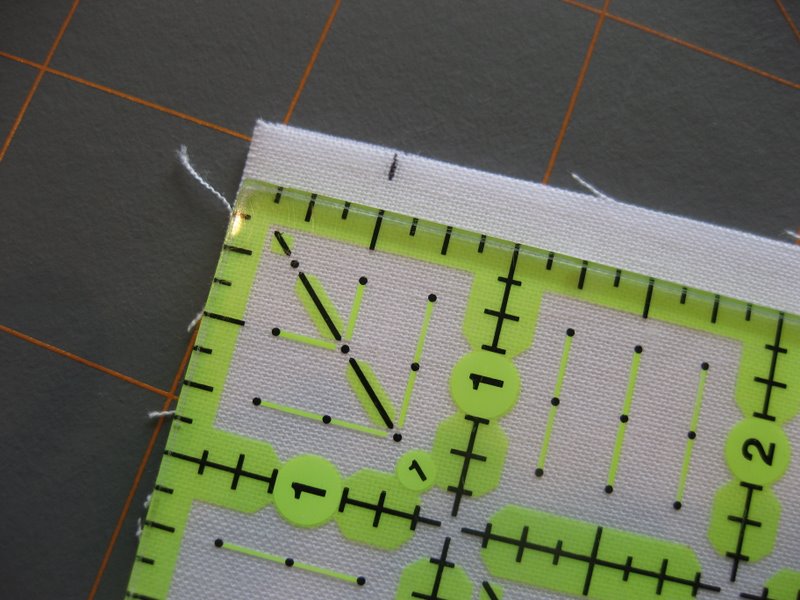
1. Prepare your background square by placing a small mark along the fabric edge, 1/2 inch from each corner and at the center of each side (4.5" from either edge). When complete, you will have 3 marks on each side of the square.
2. Starting with any side, fold the fabric at the center mark with your fingers, then bring the fold over to the mark to its left. Make sure that the fold runs parallel to the edge of the fabric, then pin.
3. Continue step 2 on the remaining 3 sides, moving along the square in a counter-clockwise direction.
4. When all sides are folded and pinned, you'll have a mess that looks like this on the front and back:
5. It might be hard to imagine just looking at the photos, but the fabric will naturally flatten out into what you see below. Gently press out the folds with your fingers to create the square on the front, and you'll see that the fabric forms four equal squares on the back that leave just a tiny hole in the center.
6. Tack down the points of your new inner square. Tacking them down also helps to line things up so that your square is straight and centered. To do this, take your threaded needle and put it through the fold on the back, bringing it up through the very tip of the point at the front. Do a couple of tiny stitches and knot off your thread. Repeat at remaining three points, and remove your pins.
7. To create the origami effect, fold over the straight flap coming off of the inner square and finger press it over so that its point is approximately 1/4 inch from the edge (to ensure it will be hidden within seam allowances later on). Tack the point down with a stitch or two. Repeat for the other 3 flaps.
8. Place the center fabric on top of the square and pin to hold (pretend I did this AFTER I tacked down those folds, okay?).
9. To create the window, fold the edge of the square over as far as you can without distorting the corners and pin it to hold.
10. Stitch the fold down by hand or machine, as close to the edge as possible. Repeat for the rest of the sides.
11. And wha-la! There you have it.
12. Make sure when sewing blocks together, adding sashing, etc. that you use a 1/2 inch seam allowance (as opposed to the standard 1/4 inch).
A big thank you goes to JoAnn Gonzalez-Major, a super talented quilter who taught the Anchorage Modern Quilt Guild this technique at our last meeting. This is a quilt she made using the blocks:
Her technique is based on an example she found in a book called
Fantastic Fabric Folding by Rebecca Wat. I was told a variation on the technique can also be found in
Cathedral Window Quilts by Lynne Edwards.
Since this is my first tutorial, please let me know if there is something that can be clarified! I hope you enjoy using this technique as much as I do!